While you can set the text on your webpage to use any font you desire (using CSS’s font-family property), it won’t guarantee that your users will see your text the same way. This is because your visitors may not have the same font installed on their device. This is why Web Safe Font conventions exist and the reason that font-family uses a backup system.
Luckily, you can get around this issue by including CSS font references in your HTML. This approach makes it so when your visitors open your website, a font is loaded in the background. Then your visitors will be able to render the font whether or not they have it installed.
Google Fonts is one service that hosts CSS font files. Here is a quick tutorial on how to use Google Fonts.
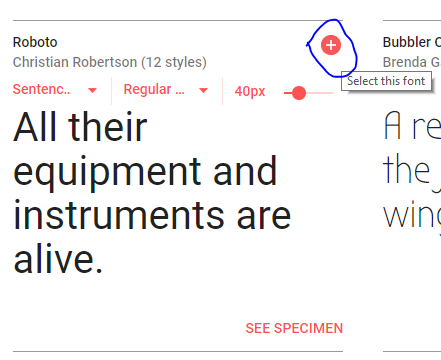
- Go to Google Fonts and find a font that you like. You can do this by scrolling through the available fonts, looking at the FEATURED fonts, or searching. If you have already have a font in mind you may want to try What’s the Closest Google Font which has a list of popular fonts and their Google Font doppelgangers.
- Once you have found the font of your dreams, click on the red plus icon to the upper right of said font.
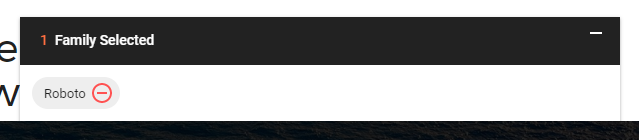
Selecting a GoogleFont - A small dialog will appear at the bottom of the screen, containing your selection. Click on this dialog so that it expands.
Google Font selected - Once the dialog has been expanded you will see the code that needs to be added to your site in order for the font to display.
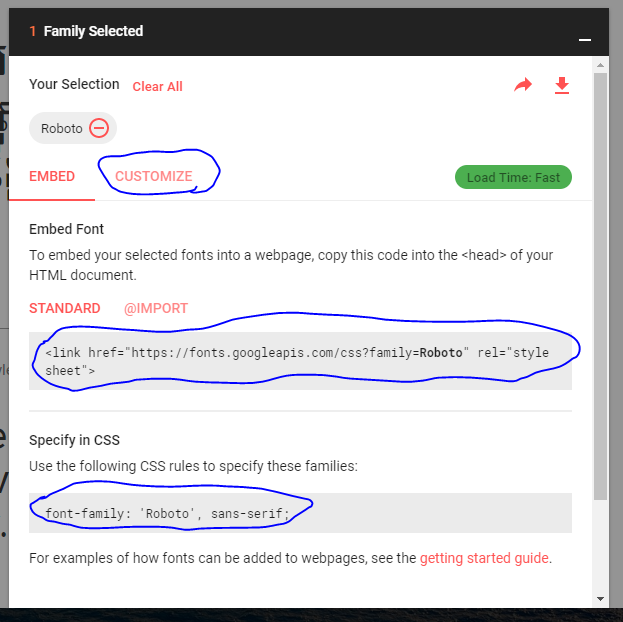
Google Font selection expanded - Here is an example of how you would use this code in your HTML file:
<head>
<link href="https://fonts.googleapis.com/css?family=Roboto" rel="stylesheet">
<style>
p {font-family: 'Roboto', sans-serif;}
</style>
</head>

<body>
<p>I'm using Roboto, a Google Font</p>
</body>