Interested in using icons on your site but don’t want to host any images? Get away from image files by using Font Awesome‘s CSS icons. Here is a guide on how to download and use Font Awesome icons.
- Go to Font Awesome and click the “Download” button in the middle of the screen.

Font Awesome Download button - A popup will appear asking if you would like use Font Awesome Pro (for a cost). I chose to stick with the basic version of Font Awesome, so I clicked the “No thanks, just download Font Awesome 4” button. This will download font-awesome-4.7.0.zip.
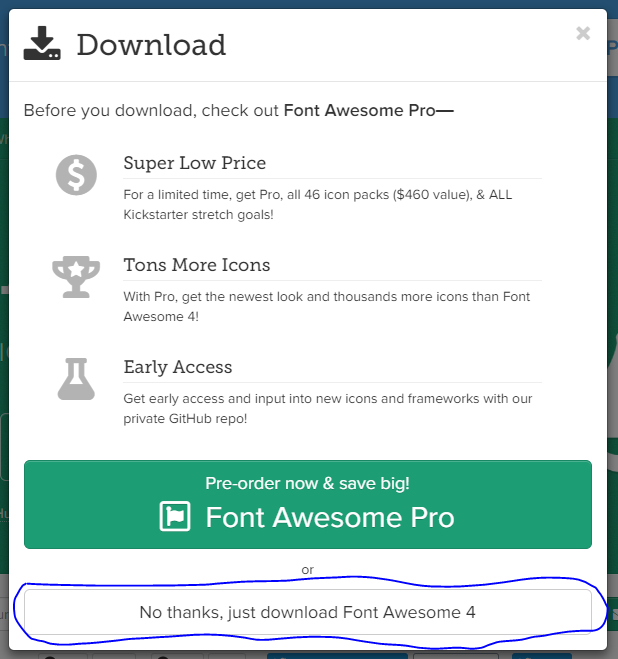
Download Font Awesome 4 - Once font-awesome-4.7.0.zip has been downloaded, unzip its contents into the directory of your choice (locally or on your web server).
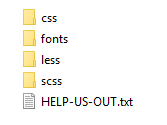
Font Awesome files - Now that you have the files in place, you just need to add a reference to Font Awesome in your HTML. Use the following code (assuming your HTML file is one directory above/ outside of the Font Awesome “css” folder:
<link rel="stylesheet" href="path/to/font-awesome/css/font-awesome.min.css">
- Once you have created the link to font-awesome.min.css, adding icons is simple. Here is example code that would show a dollar bill icon:
<i class="fa fa-money" aria-hidden="true"></i>
- You can see and search for all of the available icons here: The Icons.
- There are numerous ways to enhance and customize the Font Awesome icons. Checkout the following documentation for that information: Examples.