Validate your HTML and CSS with the W3C Validation Service

Just because your website displays the way that you intended does not mean that your code is valid. Browsers are great at making do with bad code and they won’t throw an error if your HTML or CSS is off. Clean code is easier for browsers to process and to read and modify for development purposes. There are a number of web page validation services, but this tutorial will cover how to use the W3C Validation Service.

  1. Go to the the W3C Validation Service.
  2. If the file that you would like to validate is already on the web, you can input the URL of the file in the “address” field. Otherwise, change the tab to “By file upload” or “By direct input” and either browse for the file locally for paste the contents of the file. Click the “Check” button.

    W3C Validation Service choose validation method
    W3C Validation Service choose validation method
  3. The Validation Service will generate a list of errors, warnings, and validated CSS. Taking care of the errors is the most important step but you may also want to address the warnings.
    W3C Validation Service error example
    W3C Validation Service error example
    W3C Validation Service warning example
    W3C Validation Service warning example

    W3C Validation Service valid CSS example
    W3C Validation Service valid CSS example
  4. In order to take care of the errors and warnings, use the line numbers to find the code in your file.

Minimizing images for web

Minimizing, also referred to as compressing or optimizing, is an important step to take before you upload images to a website. By decreasing the size of your images, you reduce the amount of latency users face when loading your pages. Many hosting services also limit the amount of bandwidth that you can use per month. By limiting the size of your images, you decrease the chance that you will reach these bandwidth limits.

This is a quick tutorial that demonstrates how to use Optimizilla to minimize images.

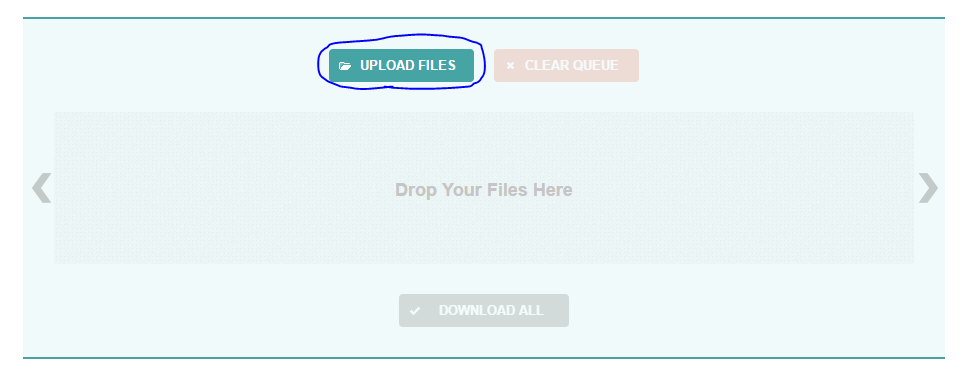
  1. Go to optimizilla.com and click the “UPLOAD FILES” button.

    Optimizilla UPLOAD FILES button
    Optimizilla UPLOAD FILES button
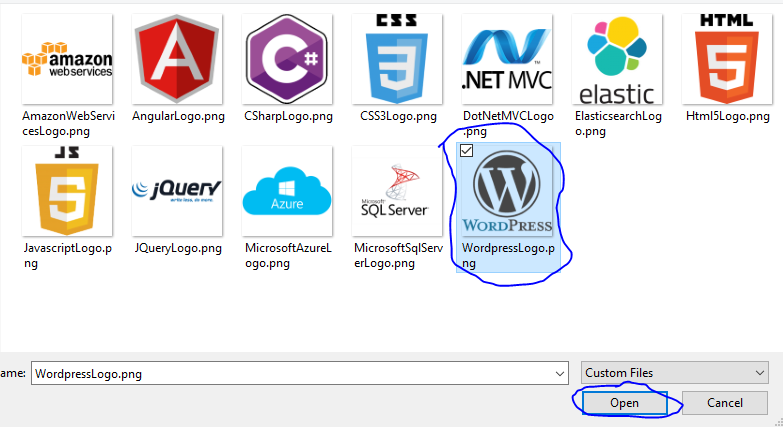
  2. Select an image or images from your file explorer.

    Optimizilla select image from File Explorer
    Optimizilla select image from File Explorer
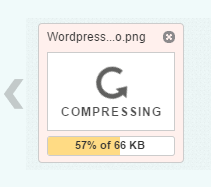
  3. The image(s) will run through a compression algorithm and then a before and after will display below.
    Optimizilla image compressing
    Optimizilla image compressing

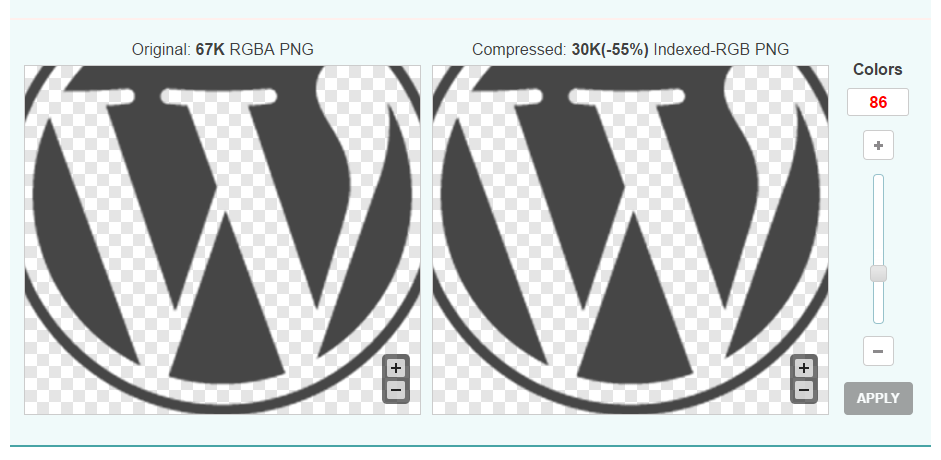
    Optimizilla before and after compression
    Optimizilla before and after compression
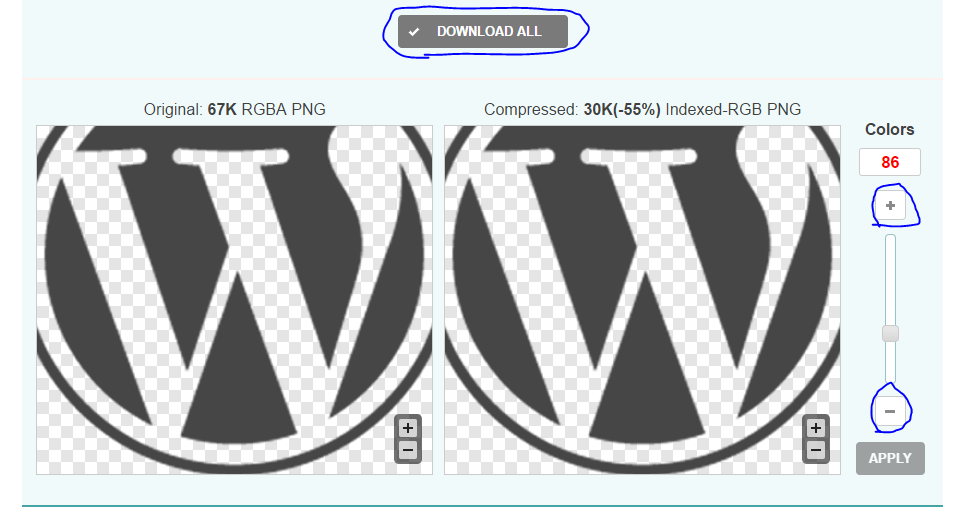
  4. You can either download the automatically generated images by clicking the “DOWNLOAD ALL” button or you can use the slider in the before and after pane to alter the amount of colors used in the compressed image. The greater the amount of colors, the larger the image size.

    Optimizilla DOWNLOAD ALL or change colors
    Optimizilla DOWNLOAD ALL or change colors
  5. If you change the amount of colors, click the apply button to re-run the compression with the new color settings. If you are happy with the results, click the “DOWNLOAD ALL” button. Otherwise, keep toying with the colors until you get a result that you are happy with.
  6. When you click the “DOWNLOAD ALL” button you will end up with an optimizilla.zip. Un-zip this file and upload the *-min.* file to your website.

And that’s it… Congratulations on minimizing your images!

Changing the WordPress URL structure

Dislike the ugly URLs that WordPress assigns your posts by default? You can use the WordPress Permalinks setting to change the structure of your links.

By default WordPress will give your posts a URL such as:
http://mysite.com/?p=1

You may want something more like:
http://mysite.com/my-first-post

or maybe even:
http://mysite.com/my-first-category/my-first-post

Luckily WordPress makes it easy to achieve these results. Here is a brief tutorial on how to change the URL structure of your WordPress site.

  1. Log in to your WordPress Dashboard.
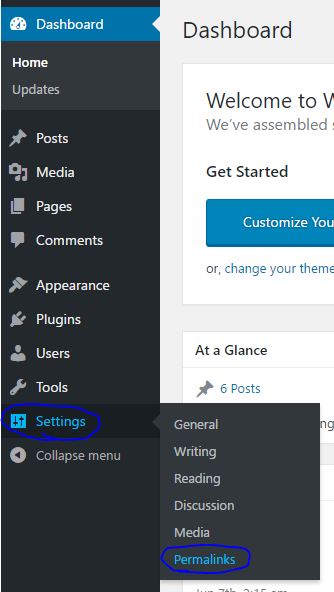
  2. In the side menu on the left side of the dashboard, hover over the “Settings” link. A menu should appear. Click the “Permalinks” link.

    Wordpress Dashboard Permalinks settings
    WordPress Dashboard Permalinks settings
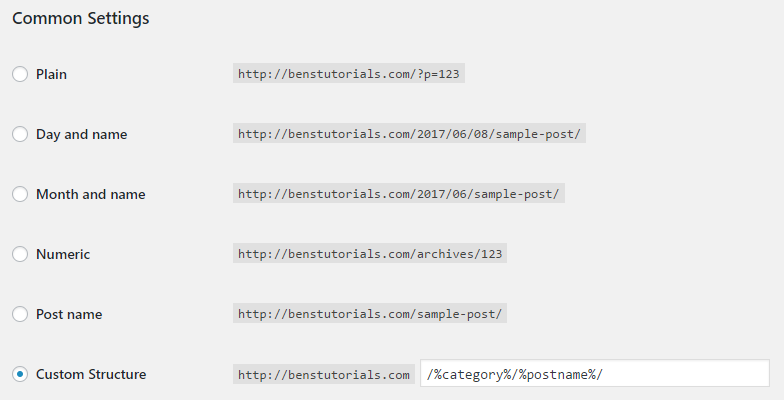
  3. The first thing you will see in the Permalink settings page is a list of URL schemes.
    Wordpress Permalinks Common Settings
    WordPress Permalink Common Settings

    If you want to go with the http://mysite.com/my-first-post type of URL, select the fifth option down, “Post name”.

    If you want you links to look like http://mysite.com/my-first-category/my-first-post, you can select “Custom Structure” and enter the following in the text field on the right:

    /%category%/%postname%/
    
  4. If you have another format in mind, checkout the following documentation and scroll to the Structure Tags section: Using Permalinks
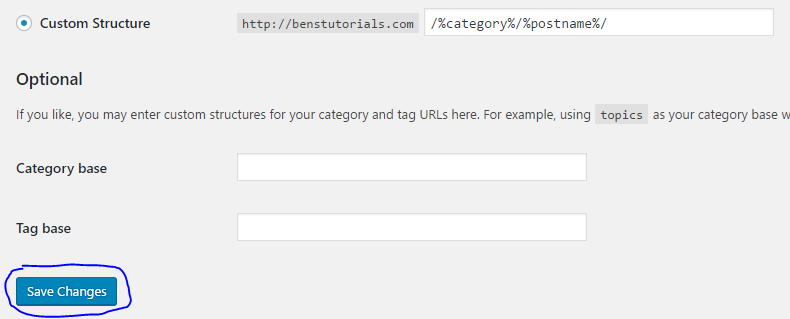
  5. Once you have selected the format you want to use, click the “Save Changes” button at the bottom of the screen.

    Wordpress Permalink Settings Save button
    WordPress Permalink Settings Save button

Add typing animations to your website with TypeIt

TypeIt creates the illusion that text is typing itself out on your webpage. I used this jQuery plugin in my consulting website and I’ll likely use it again in the future. Here is a tutorial on how use TypeIt.

It is easy to implement TypeIt. All you need to do is reference jQuery and the TypeIt Javascript file in your HTML file like so:

<script src="https://code.jquery.com/jquery-3.0.0.min.js"></script> 

<script src="https://cdn.jsdelivr.net/jquery.typeit/4.4.0/typeit.min.js"></script>

Once your webpage has those references all you need to do is assign the typeIt function to one of the elements on your page with the following code:

<p id="element">
Type this text!
</p>

<script>
$('#element').typeIt({
 // options
});
</script>

See this code live here: https://jsfiddle.net/xxek9k3p/

The code above demonstrates the most basic TypeIt animation possible. There are a number of ways you can customize TypeIt. Checkout the following documentation to change the speed of the animation, delete text, and more:  TypeIt Docs.

Changing the mouse cursor with CSS

For some reason I always forgot the CSS code required to change the mouse cursor. You can switch cursors for any reason, but I like to change the cursor when a user hovers over a submit button. This affirms that clicking the button will trigger an action. Here is a quick tutorial on how to use CSS to change the cursor altogether or only for on-hover events.

Changing the cursor for the entire page
This is very simple to do. Put the following CSS in your style sheet:

html {
cursor: crosshair;
}

See this code running here: https://jsfiddle.net/45nvntgf/

There are a number of cursors that you can use. Checkout the following reference for a list: cursor

Changing the cursor for on hover events
HTML:

<input type="submit">

CSS:

input[type="submit"]:hover {
cursor: pointer;
}

Checkout the result here: https://jsfiddle.net/aub7s8ea/

Adding icons to your site with Font Awesome

Interested in using icons on your site but don’t want to host any images? Get away from image files by using Font Awesome‘s CSS icons. Here is a guide on how to download and use Font Awesome icons.

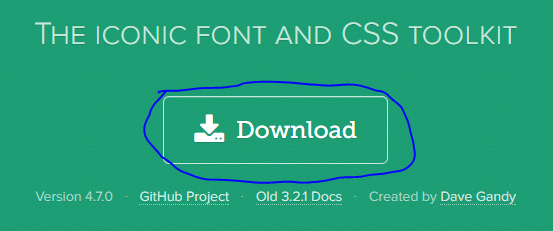
  1. Go to Font Awesome and click the “Download” button in the middle of the screen.

    Font Awesome Download button
    Font Awesome Download button
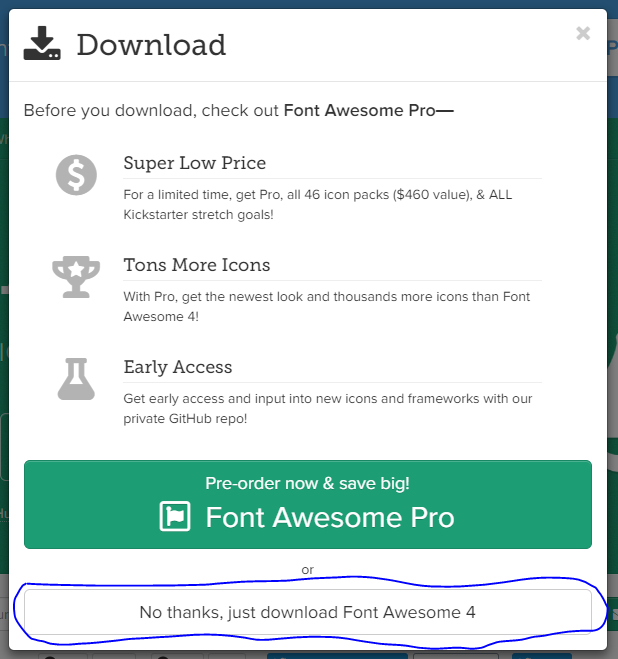
  2. A popup will appear asking if you would like use Font Awesome Pro (for a cost). I chose to stick with the basic version of Font Awesome, so I clicked the “No thanks, just download Font Awesome 4” button. This will download font-awesome-4.7.0.zip.

    Download Font Awesome 4
    Download Font Awesome 4
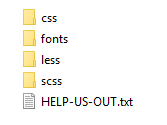
  3. Once font-awesome-4.7.0.zip has been downloaded, unzip its contents into the directory of your choice (locally or on your web server).

    Font Awesome files
    Font Awesome files
  4. Now that you have the files in place, you just need to add a reference to Font Awesome in your HTML. Use the following code (assuming your HTML file is one directory above/ outside of the Font Awesome “css” folder:
    <link rel="stylesheet" href="path/to/font-awesome/css/font-awesome.min.css">
  5. Once you have created the link to font-awesome.min.css, adding icons is simple. Here is example code that would show a dollar bill icon:
    <i class="fa fa-money" aria-hidden="true"></i>
  6. You can see and search for all of the available icons here: The Icons.
  7. There are numerous ways to enhance and customize the Font Awesome icons. Checkout the following documentation for that information: Examples.

How to add Google Fonts to your webpage

While you can set the text on your webpage to use any font you desire (using CSS’s font-family property), it won’t guarantee that your users will see your text the same way. This is because your visitors may not have the same font installed on their device. This is why Web Safe Font conventions exist and the reason that font-family uses a backup system.

Luckily, you can get around this issue by including CSS font references in your HTML. This approach makes it so when your visitors open your website, a font is loaded in the background. Then your visitors will be able to render the font whether or not they have it installed.

Google Fonts is one service that hosts CSS font files. Here is a quick tutorial on how to use Google Fonts.

  1. Go to Google Fonts and find a font that you like. You can do this by scrolling through the available fonts, looking at the FEATURED fonts, or searching. If you have already have a font in mind you may want to try What’s the Closest Google Font which has a list of popular fonts and their Google Font doppelgangers.
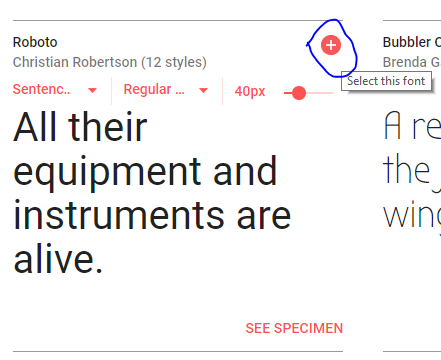
  2. Once you have found the font of your dreams, click on the red plus icon to the upper right of said font.

    Selecting a GoogleFont
    Selecting a GoogleFont
  3. A small dialog will appear at the bottom of the screen, containing your selection. Click on this dialog so that it expands.

    Google Font selected
    Google Font selected
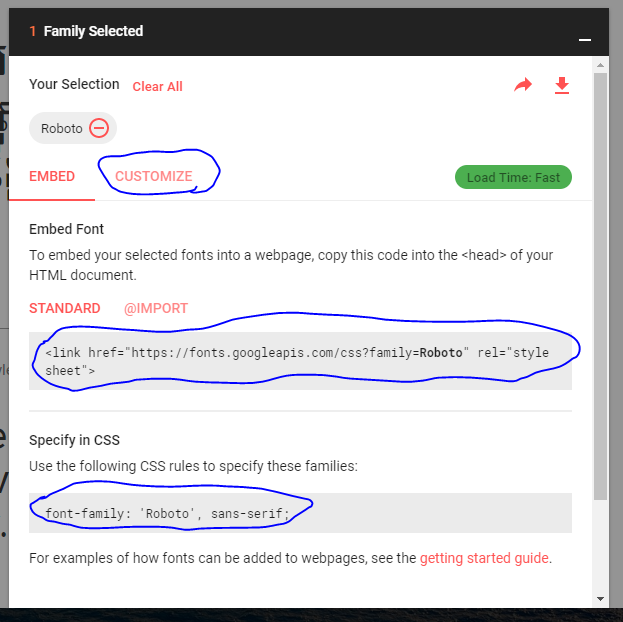
  4. Once the dialog has been expanded you will see the code that needs to be added to your site in order for the font to display.

    Google Font selection expanded
    Google Font selection expanded
  5. Here is an example of how you would use this code in your HTML file:
    <head>
    <link href="https://fonts.googleapis.com/css?family=Roboto" rel="stylesheet">
    <style>
    p {font-family: 'Roboto', sans-serif;}
    </style>
    </head>
    
    <body>
    <p>I'm using Roboto, a Google Font</p>
    </body>


Getting started with an Elasticsearch cluster

Learn how to create indices, and insert and retrieve documents from Elasticsearch. This tutorial leaves out many of the available settings and APIs offered by Elasticsearch in order to demonstrate the aforementioned concepts as quickly as possible. Feel free to read the full Elasticsearch documentation here.

Don’t have your own Elasticsearch cluster? Learn how to get a free, hosted  Elasticsearch cluster.

Creating an index
We use the Create Index API to create indices in Elasticsearch. The official documentation for this API can be found here. I will use the samples mentioned their in this tutorial. In order to create an index you need to make a request to your Elasticsearch cluster like so:

PUT twitter
{
    "settings" : {
        "number_of_shards" : 3,
        "number_of_replicas" : 2
    }
}

Not sure how to make a request to your Elasticsearch cluster? [tutorial coming soon]

This request asks your cluster to create an index named “twitter” with 3 shards and 2 replicas. You can learn more about shards and replicas here.

Once you make the index request you should receive the following response from your Elasticsearch cluster:

{"acknowledged":true,"shards_acknowledged":true}

Now you have yourself an Elasticsearch index!

Inserting a document
In order to create documents in Elasticsearch we use the Index API (official Index API documentation here). Use the following request to create a new document:

PUT twitter/tweet/1
{
    "user" : "kimchy",
    "post_date" : "2009-11-15T14:12:12",
    "message" : "trying out Elasticsearch"
}

This request creates a new document of type “tweet” with an Id of 1, into the index “Twitter” with the information found in the body of the request.

If all went well you should have received the following response:

{
    "_shards" : {
        "total" : 2,
        "failed" : 0,
        "successful" : 2
    },
    "_index" : "twitter",
    "_type" : "tweet",
    "_id" : "1",
    "_version" : 1,
    "created" : true,
    "result" : created
}

Now we have a document in our cluster. Let’s retrieve it!

Retrieving documents
The easiest way to fetch a document from Elasticsearch is via the Get API. This assumes you know the document’s Id. If you do not, there are a number of search related APIs that you can use. I may write a tutorial on some of those in the future. For the time being, you can use the official search documentation found here.

In order to find a document using the Get API, use the following request:

GET twitter/tweet/1

This request asks the cluster to return the document with and Id of 1. This is the document we previously inserted during the “Inserting a document” section.

You should receive the following response:

{"_index":"twitter","_type":"tweet","_id":"1","_version":1,"found":true,"_source":{
    "user" : "kimchy",
    "post_date" : "2009-11-15T14:12:12",
    "message" : "trying out Elasticsearch"
}}

So now you know how to create an index, insert a document, and retrieve documents in Elasticsearch!

Creating a free Elasticsearch cluster with bonsai.io

bosai.io hosts free Elasticsearch clusters that can be used to get familiar with Elasticsearch. Their free clusters have limitations. You will need to upgrade to a paid bonsai.io cluster, use another Elasticsearch host, or set up a cluster on your own server to get the everything that Elasticsearch has to offer. With that being said, let’s get started.

  1. Go to bonsai.io
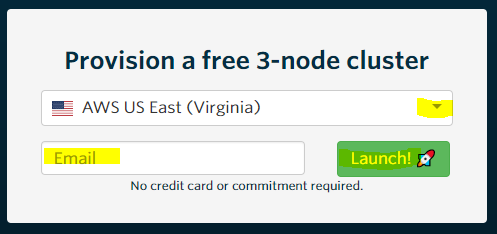
  2. There is a form in the middle of the page with the text “Provision a free 3-node cluster”. Select the region that you would like your Elasticsearch cluster to be hosted in. Then enter your email and click the “Launch!” button.

    Fill out the free cluster form
    Fill out the free cluster form
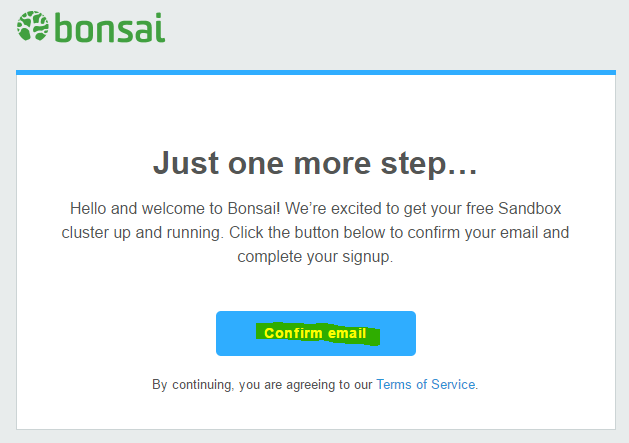
  3.  You will receive an email from bonsai.io titled “[Bonsai] Confirm your email”. Open the email and click the “Confirm email” button.
    bonsai.io confirmation email preview
    bonsai.io confirmation email preview

    bonsai.io confirmation email
    bonsai.io confirmation email.
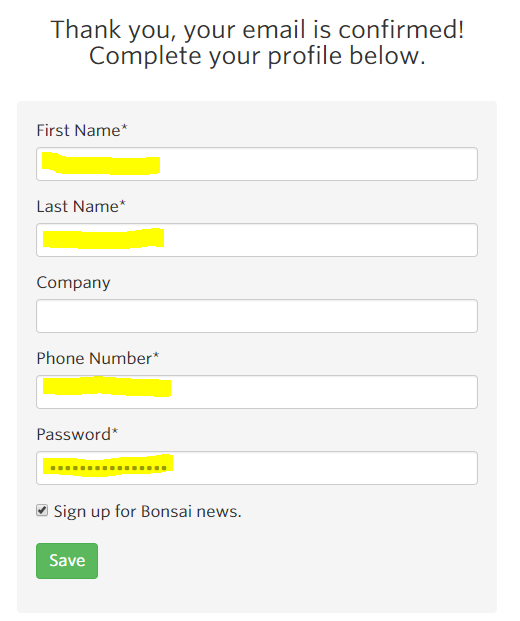
  4. You will be taken to form to complete your profile. Fill out the form and click “Save”. There are password requirements that are not mentioned on the page. A 10 character password with a number, uppercase letter, and non alpha-numeric character worked for me.

    Fill out bonsai.io profile form
    Fill out bonsai.io profile form
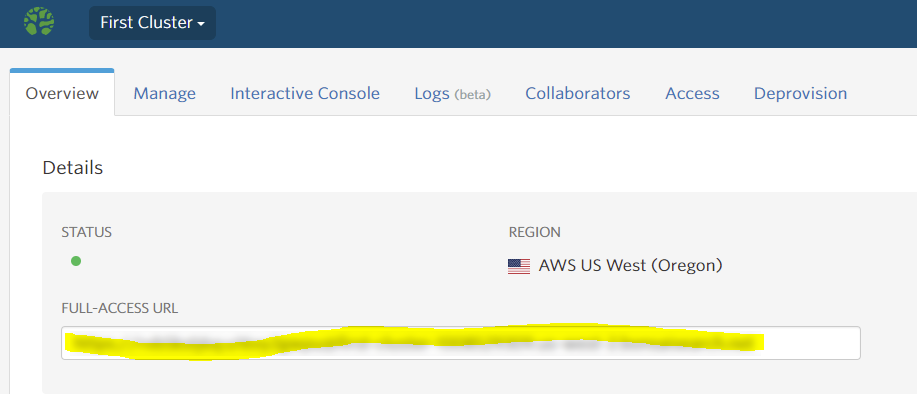
  5. You will be taken to the bonsai.io cluster dashboard. You have successfully created a free cluster at bonsai.io!

    bonsai.io cluster dashboard
    bonsai.io cluster dashboard

Now that you have a cluster you can put the basics of Elasticsearch to use.