Minimizing, also referred to as compressing or optimizing, is an important step to take before you upload images to a website. By decreasing the size of your images, you reduce the amount of latency users face when loading your pages. Many hosting services also limit the amount of bandwidth that you can use per month. By limiting the size of your images, you decrease the chance that you will reach these bandwidth limits.
This is a quick tutorial that demonstrates how to use Optimizilla to minimize images.
- Go to optimizilla.com and click the “UPLOAD FILES” button.
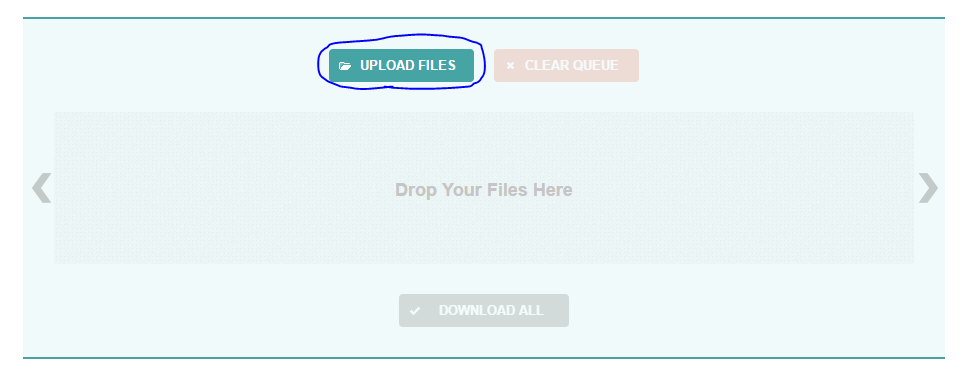
Optimizilla UPLOAD FILES button - Select an image or images from your file explorer.
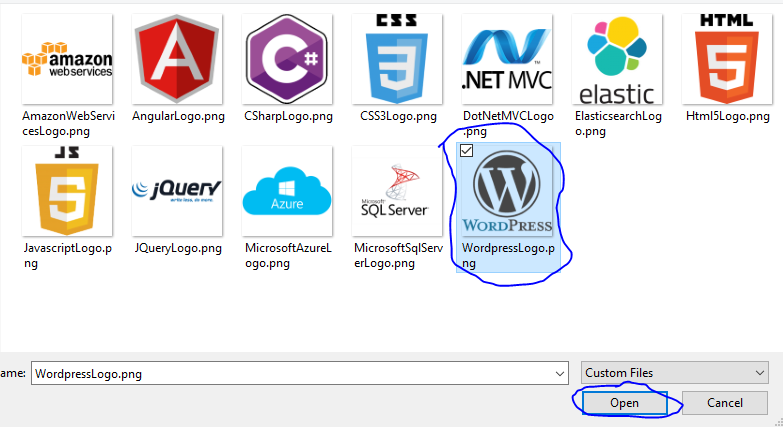
Optimizilla select image from File Explorer - The image(s) will run through a compression algorithm and then a before and after will display below.
Optimizilla image compressing 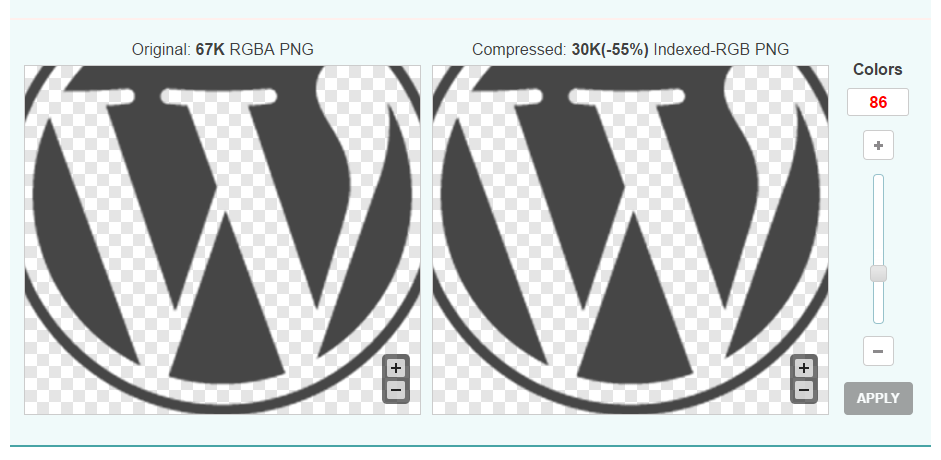
Optimizilla before and after compression - You can either download the automatically generated images by clicking the “DOWNLOAD ALL” button or you can use the slider in the before and after pane to alter the amount of colors used in the compressed image. The greater the amount of colors, the larger the image size.
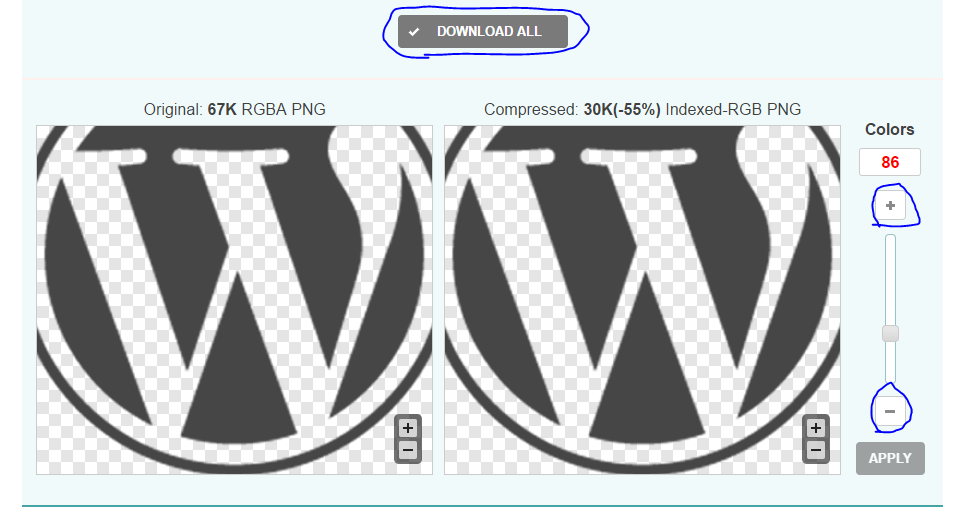
Optimizilla DOWNLOAD ALL or change colors - If you change the amount of colors, click the apply button to re-run the compression with the new color settings. If you are happy with the results, click the “DOWNLOAD ALL” button. Otherwise, keep toying with the colors until you get a result that you are happy with.
- When you click the “DOWNLOAD ALL” button you will end up with an optimizilla.zip. Un-zip this file and upload the *-min.* file to your website.
And that’s it… Congratulations on minimizing your images!