Learn how to create indices, and insert and retrieve documents from Elasticsearch. This tutorial leaves out many of the available settings and APIs offered by Elasticsearch in order to demonstrate the aforementioned concepts as quickly as possible. Feel free to read the full Elasticsearch documentation here.
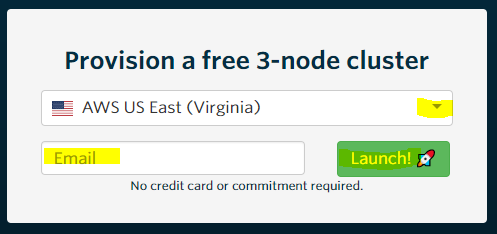
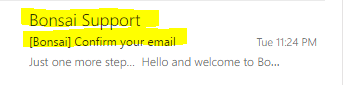
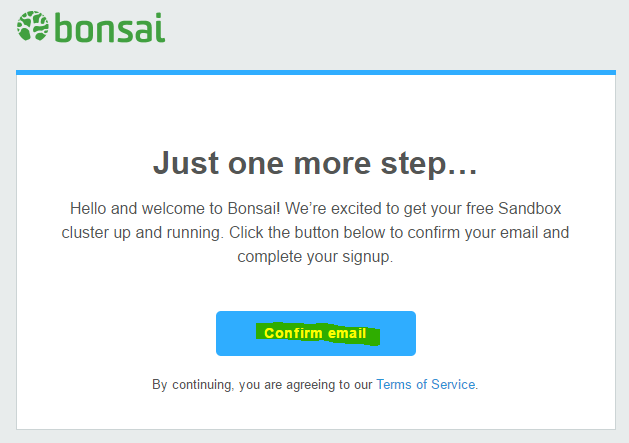
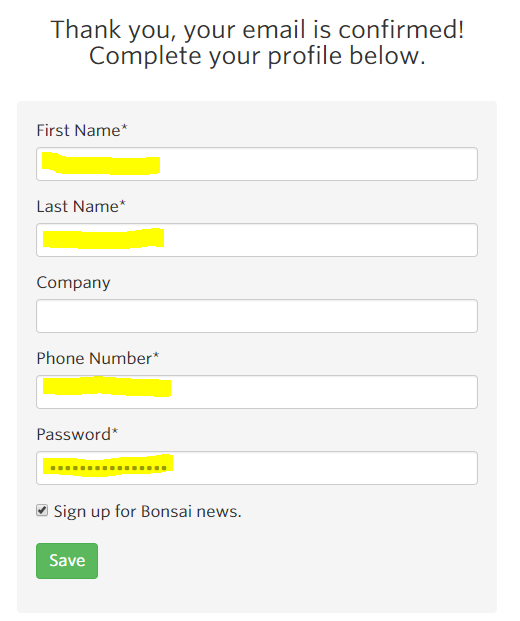
Don’t have your own Elasticsearch cluster? Learn how to get a free, hosted Elasticsearch cluster.
Creating an index
We use the Create Index API to create indices in Elasticsearch. The official documentation for this API can be found here. I will use the samples mentioned their in this tutorial. In order to create an index you need to make a request to your Elasticsearch cluster like so:
PUT twitter
{
    "settings" : {
        "number_of_shards" : 3,
        "number_of_replicas" : 2
    }
}
Not sure how to make a request to your Elasticsearch cluster? [tutorial coming soon]
This request asks your cluster to create an index named “twitter” with 3 shards and 2 replicas. You can learn more about shards and replicas here.
Once you make the index request you should receive the following response from your Elasticsearch cluster:
{"acknowledged":true,"shards_acknowledged":true}
Now you have yourself an Elasticsearch index!
Inserting a document
In order to create documents in Elasticsearch we use the Index API (official Index API documentation here). Use the following request to create a new document:
PUT twitter/tweet/1
{
    "user" : "kimchy",
    "post_date" : "2009-11-15T14:12:12",
    "message" : "trying out Elasticsearch"
}
This request creates a new document of type “tweet” with an Id of 1, into the index “Twitter” with the information found in the body of the request.
If all went well you should have received the following response:
{
    "_shards" : {
        "total" : 2,
        "failed" : 0,
        "successful" : 2
    },
    "_index" : "twitter",
    "_type" : "tweet",
    "_id" : "1",
    "_version" : 1,
    "created" : true,
    "result" : created
}
Now we have a document in our cluster. Let’s retrieve it!
Retrieving documents
The easiest way to fetch a document from Elasticsearch is via the Get API. This assumes you know the document’s Id. If you do not, there are a number of search related APIs that you can use. I may write a tutorial on some of those in the future. For the time being, you can use the official search documentation found here.
In order to find a document using the Get API, use the following request:
GET twitter/tweet/1
This request asks the cluster to return the document with and Id of 1. This is the document we previously inserted during the “Inserting a document” section.
You should receive the following response:
{"_index":"twitter","_type":"tweet","_id":"1","_version":1,"found":true,"_source":{
    "user" : "kimchy",
    "post_date" : "2009-11-15T14:12:12",
    "message" : "trying out Elasticsearch"
}}
So now you know how to create an index, insert a document, and retrieve documents in Elasticsearch!